
Why Do Paint Lines Bleed or Peel on Textured Walls?
Why Do Paint Lines Bleed or Peel on Textured Walls?
If you’ve struggled with this before, here’s why it happens:
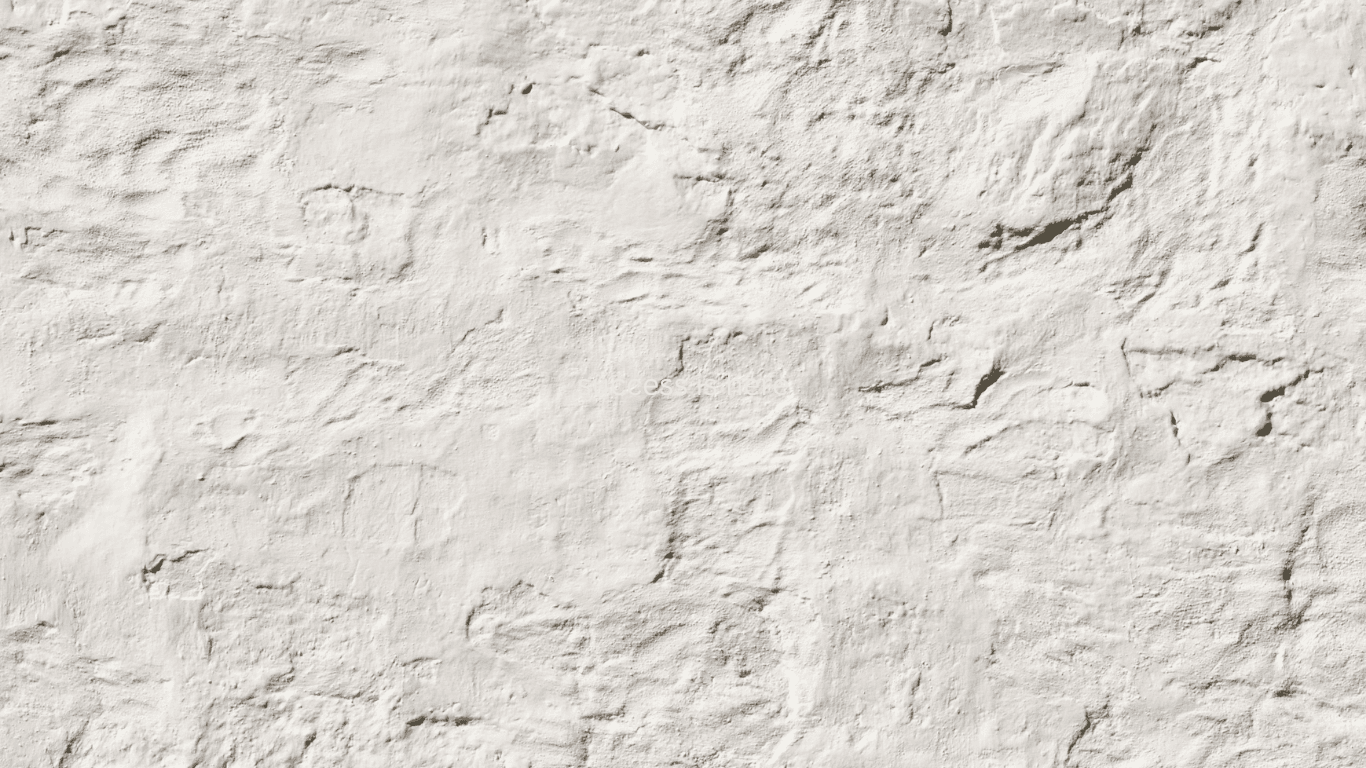
- Texture gaps: The bumps and grooves in textured walls prevent tape from sealing properly, leaving tiny channels for paint to seep into.
- Poor tape quality: Low-cost painter’s tape doesn’t have the adhesive strength needed for textured surfaces.
- Timing mistakes: Removing tape too early or too late can cause peeling or ragged edges.
- Weak base coat adhesion: If the old paint isn’t bonded to the wall, the new paint can lift it off when the tape is removed.
The solution is all about sealing the tape edge and using the right technique for your wall type.
The Best Methods for Crisp Paint Lines
1. The Tape-and-Seal Method (Classic Old-School Trick)
This timeless method remains one of the most reliable ways to get sharp lines:
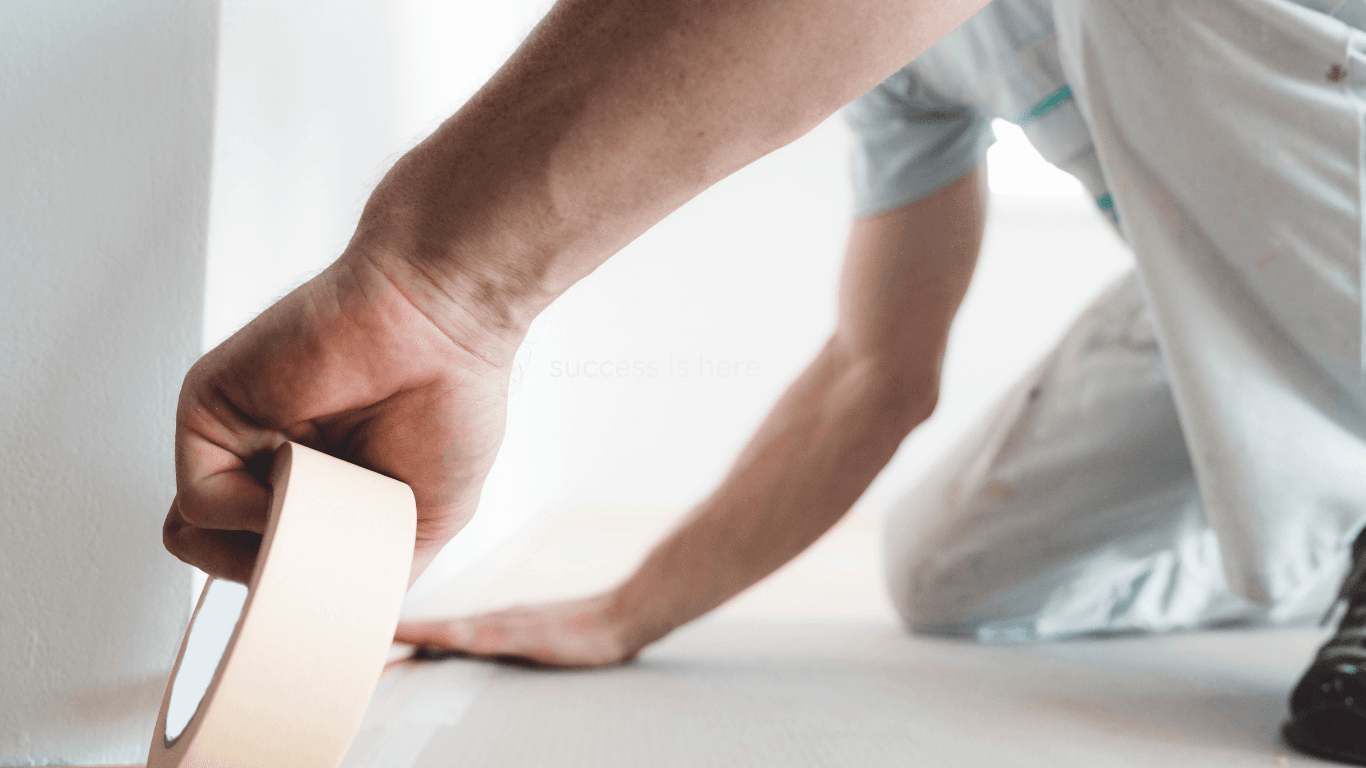
- Apply painter’s tape along the edge.
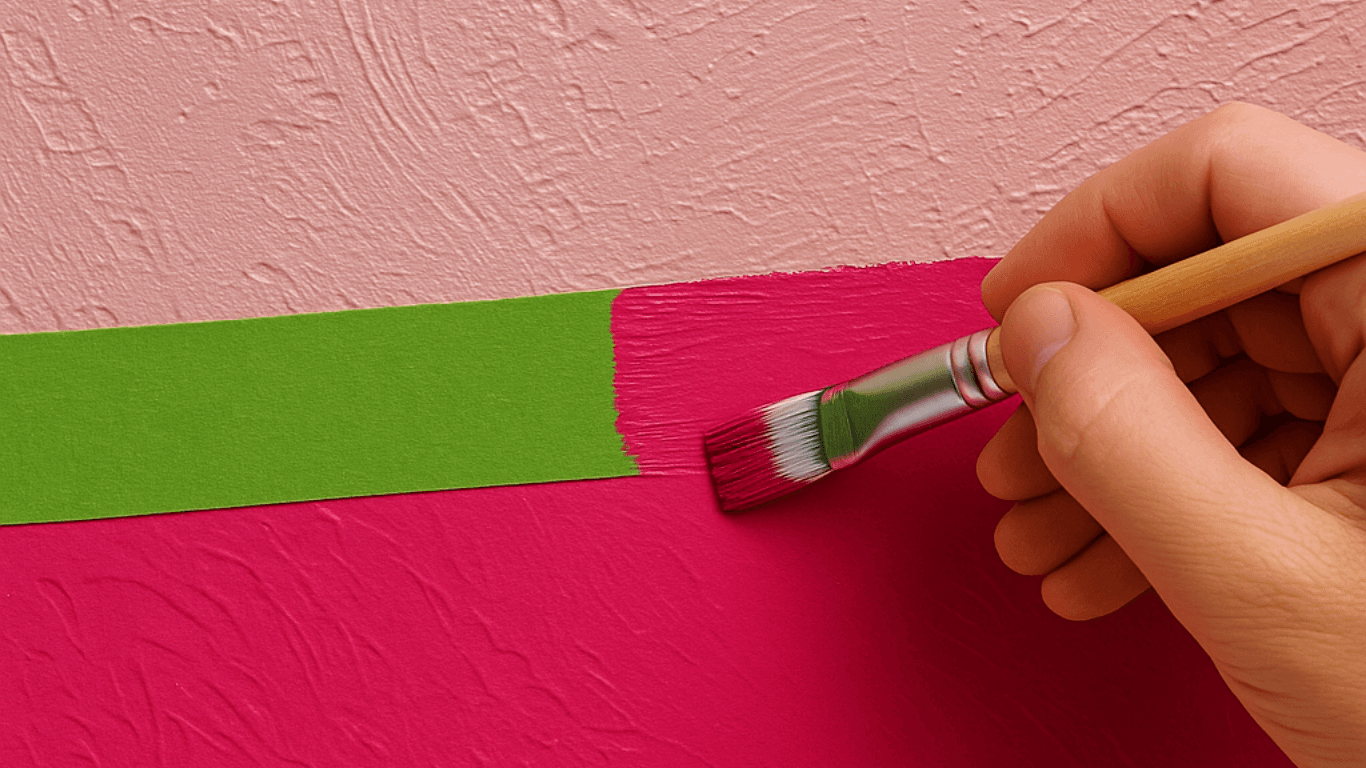
- Seal the tape by brushing on the base color (the one you just taped over).
- Let it dry fully.
- Paint your new color.
- Remove tape carefully at a 45° angle.
By sealing the tape edge with the first color, any bleed-through is invisible.
2. FrogTape with a Damp Sponge (Modern Solution)
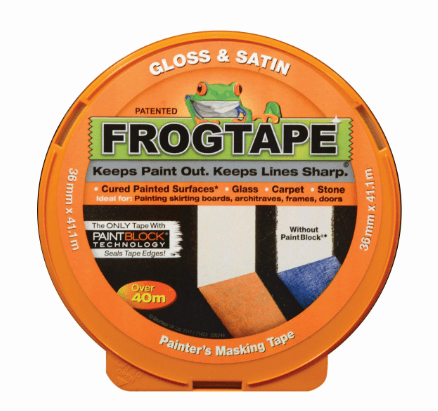
What’s the best tape for textured walls?
Many pros and DIYers recommend FrogTape. Unlike standard tape, FrogTape has a polymer that activates with water to create a micro-barrier.
How to use it:
- Apply FrogTape.
- Run a damp sponge along the edge to activate the seal.
- Paint and remove tape while the paint is still tacky.
This method is fast, clean, and especially useful for bold color contrasts.
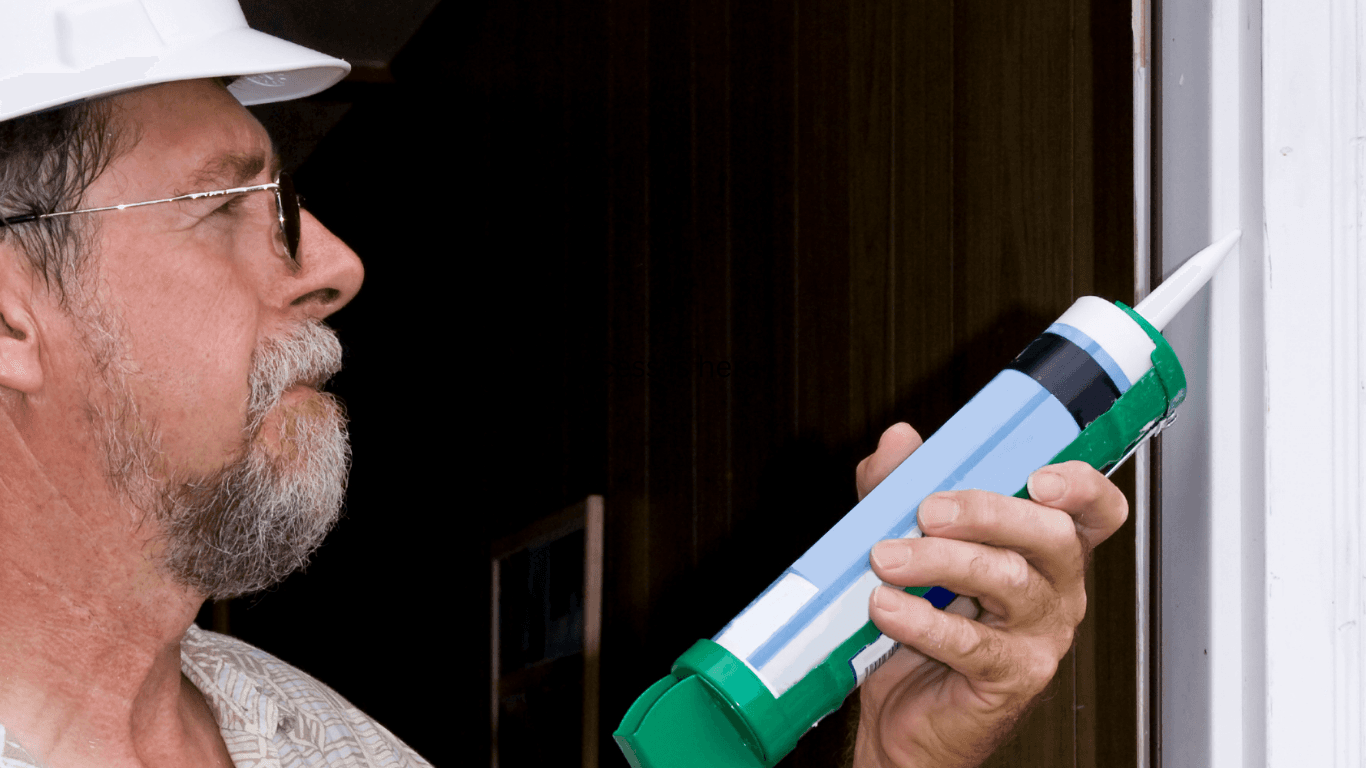
3. The Caulking Trick (Pro Painter’s Secret)
3. The Caulking Trick (Pro Painter’s Secret)
When pros want flawless lines on textured walls, they often use caulk:
- Apply painter’s tape.
- Run a thin bead of clear paintable caulk along the tape edge. (Never use silicone—it’s not paintable.)
- Smooth it with your finger.
- Immediately paint over the caulk.
- Remove tape while paint is still wet.
The caulk fills every tiny gap, guaranteeing razor-sharp lines. Painters with decades of experience call this the ultimate hack.
4. Freehand Cutting-In
4. Freehand Cutting-In
Professional painters often skip tape completely. Using a steady hand and an angled brush, they “cut in” straight lines freehand. This takes practice, but once mastered, it’s the fastest method with the cleanest results.
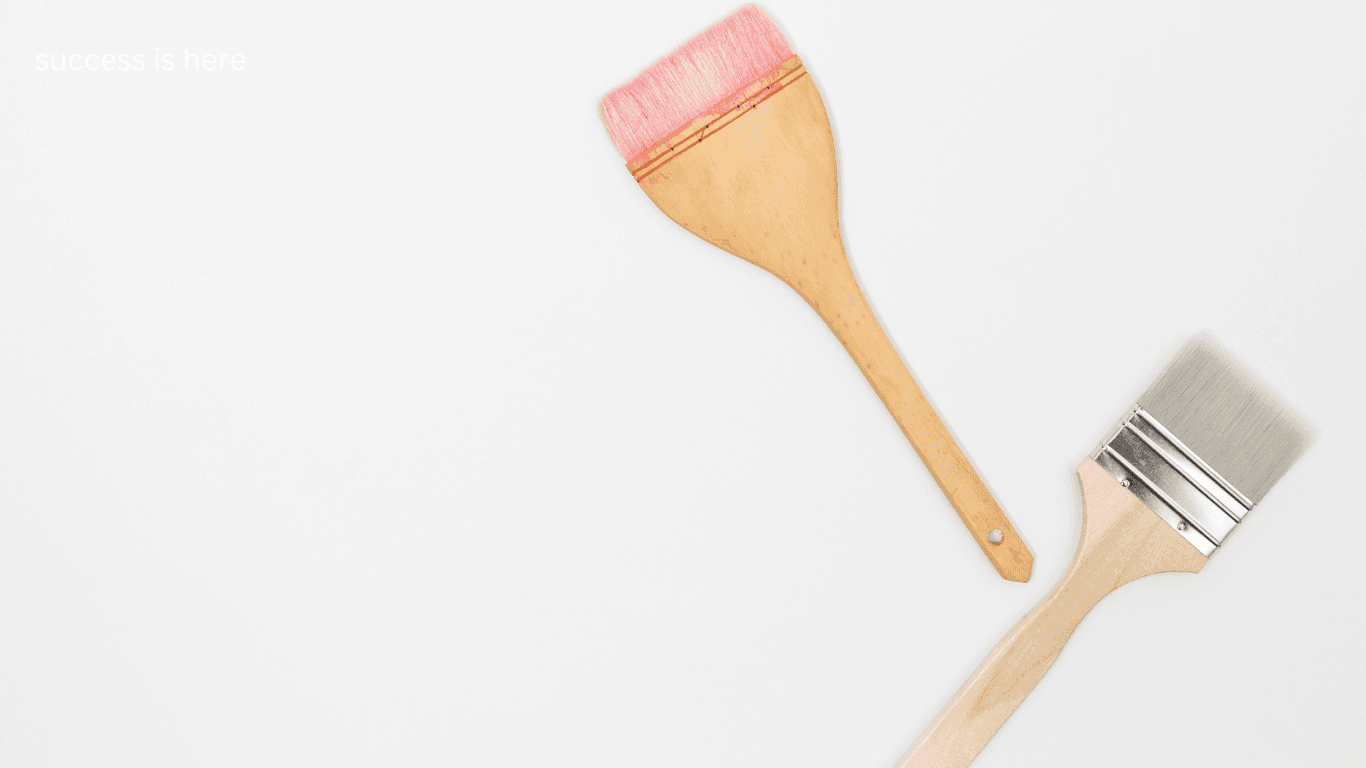
5. Careful Hand Painting with Small Brushes
5. Careful Hand Painting with Small Brushes
For homeowners who don’t trust their freehand skills, a small, dense brush can help. Work slowly, use short strokes, and carefully straighten edges. This method is perfect for touch-ups and small sections.
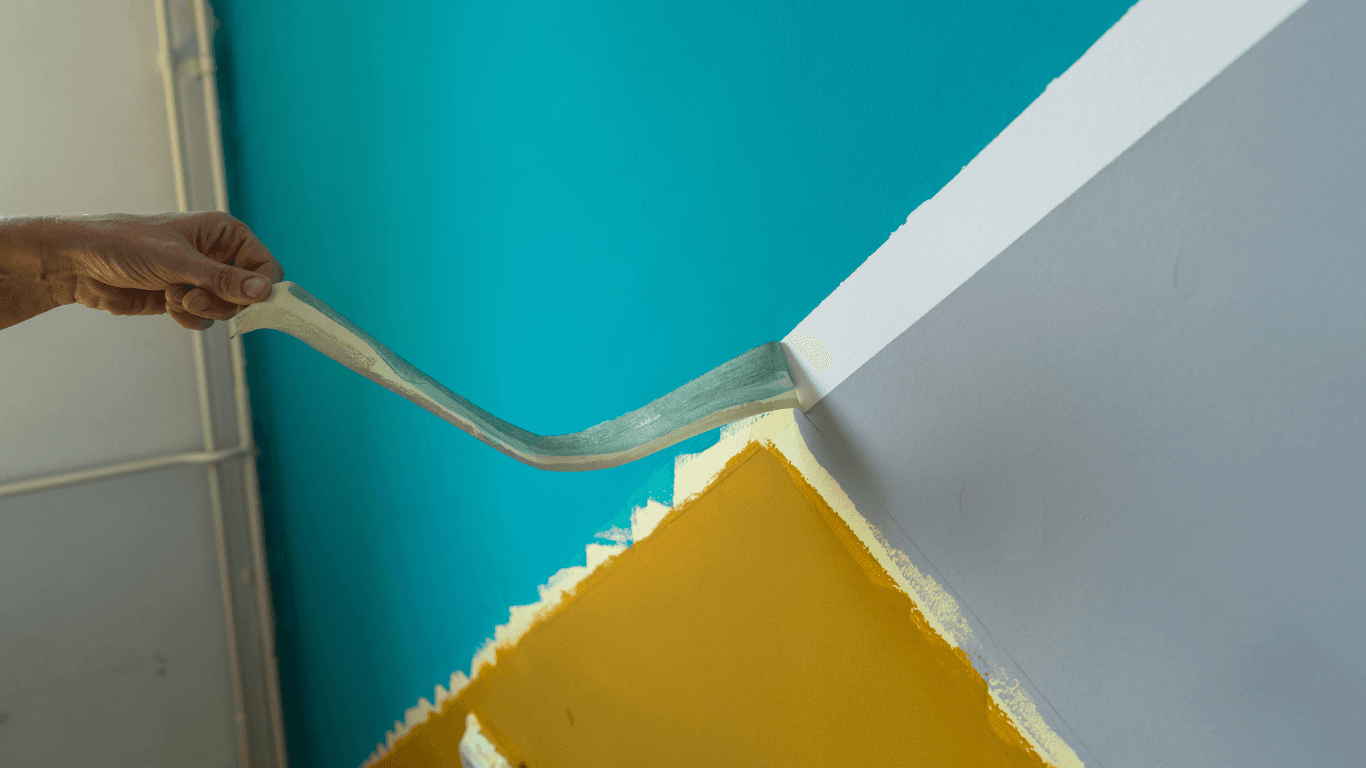
Should You Remove Painter’s Tape When Paint is Wet or Dry?
Should You Remove Painter’s Tape When Paint is Wet or Dry?
One of the most common mistakes is removing tape at the wrong time. Here’s the rule of thumb:
- Best time: Remove tape when the paint is still slightly wet/tacky.
- Too early: Paint may smudge or drip.
- Too late: Fully dry paint can peel off with the tape, ruining your clean edge.
Pull tape slowly at a 45° angle for the sharpest results.
Fixing Crooked or Peeling Paint Lines
Fixing Crooked or Peeling Paint Lines
Already pulled the tape and discovered jagged lines? Don’t panic—here’s how to fix it:
- Smooth the edge: Use fine sandpaper or a blade to level rough spots.
- Touch up: Take a small artist’s brush, load it with paint, and carefully straighten the line.
- Re-tape and repaint: For major problems, redo the line with FrogTape or caulk sealing.
- Feather the paint: On strong color contrasts, feathering helps blend the correction.
These touch-ups take time, but they can make your project look professional again.
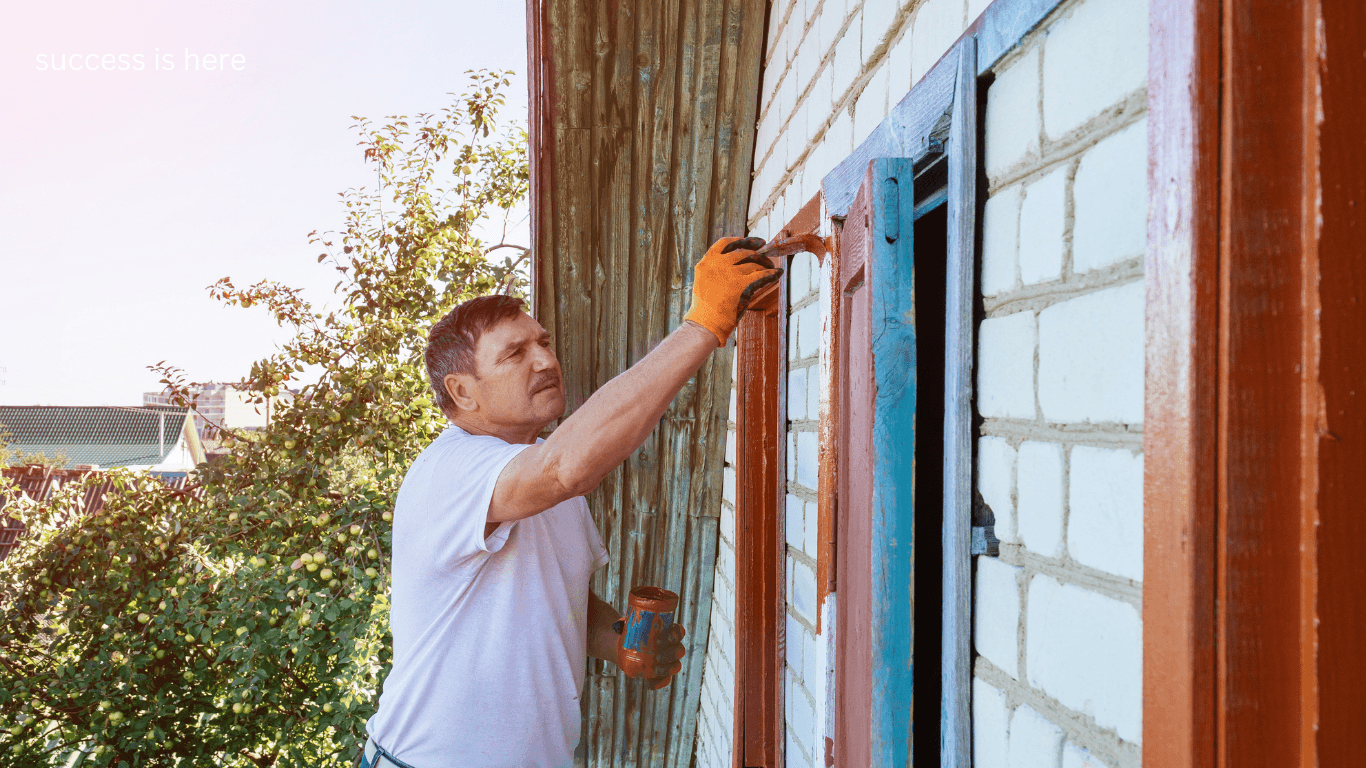
Pro Tips for Painting Textured Walls
Pro Tips for Painting Textured Walls
- Press tape firmly: Use a putty knife or credit card to push tape into grooves.
- Work in thin coats: Thick paint bleeds more easily.
- Invest in quality tools: Good brushes and high-quality tape make all the difference.
- Test first: Try your method on a small section before committing to a large wall.
- Keep a steady pace: Don’t rush—slow, even strokes are key.
Final Thoughts
Final Thoughts
Painting textured walls may seem tricky, but it’s completely manageable with the right methods. Whether you choose the classic tape-and-seal trick, modern FrogTape solution, or the pro-level caulking method, you can achieve crisp, sharp paint lines that elevate your space.
For beginners, sealing tape with the base color is foolproof. For those seeking pro results, caulk is unmatched. And if you’re confident with a brush, cutting in freehand saves time.
The bottom line? Preparation and technique matter as much as the paint itself. With these strategies, your next paint job will look sharp, clean, and professional—even on the most textured of walls.
Painters - if you're looking for a reliable painting leads generation service, YOU'RE ALREADY HERE! Visit this link primerjobs.com/book and we'll start generating high quality painting leads for you!

Painters - Stop and Check Our Painting Leads Platform!
Yes, that is correct! We have just launched a Painting Leads Platform that lets you log in, find leads that are hot in your area, and connect with homeowners while also having the ability to dispute leads that you think were not worth it! Check out the painting leads services page now and sign yourself up because, for a limited time, some of you painters will get 100 FREE CREDITS to use to get free homeowners leads as a way to try out the platform, so get going now!

Need High-Quality Leads?
Painters Book A Lead Gen Consultation Slot With Us Here!